With a part selected, you can manage its details, such as part type, manufacturer, pricing, and more.
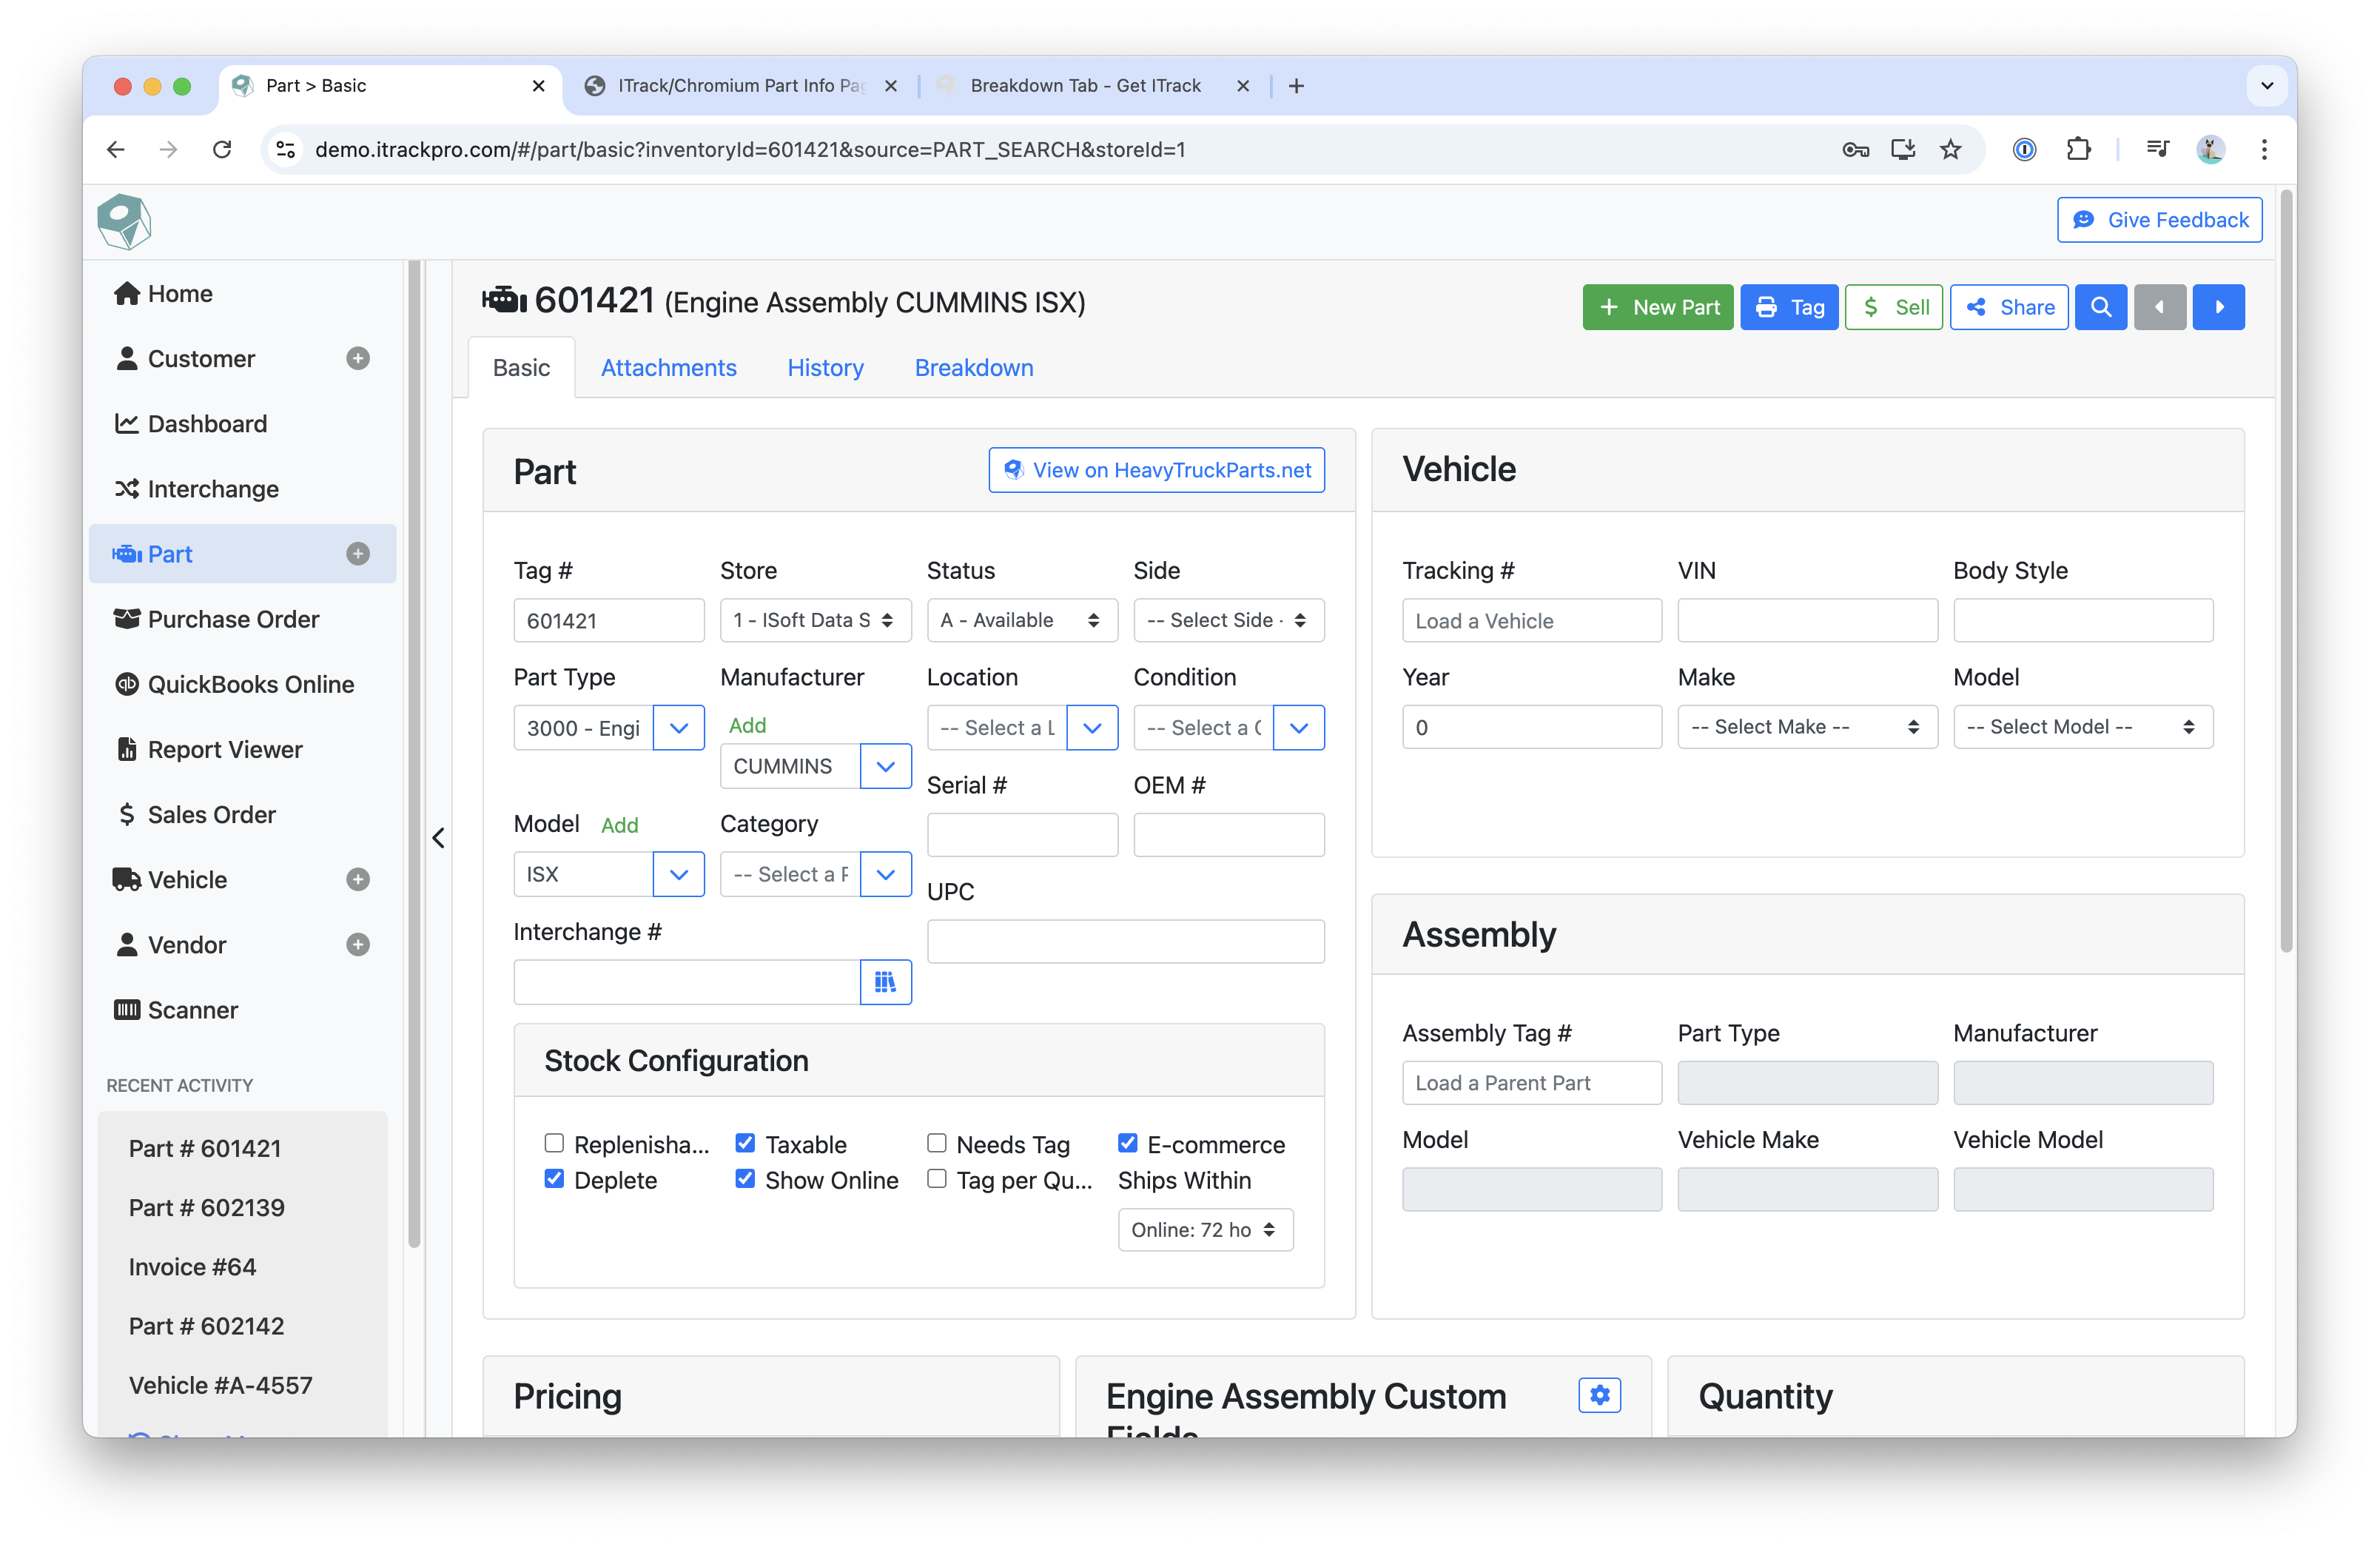
Basic Tab
This is where most of the info about the part is located. This is where you can give a part its serial number, OEM number, status, make and model, store, etc.
Vehicle Section
The Vehicle section allows you to fill out information on the vehicle the part came from. This can help you when searching for the part later.
You can load a vehicle you have already entered into Chromium by entering in its tracking number.
Assembly Section
The Assembly section is where information regarding the parent part is located.
Pricing Section
The Pricing section is where you will go to view information regarding the cost of the part as well as the wholesale, listing and retail prices.
The HTP Appraised field will display the appraisal price from HeavyTruckParts.Net . You can click or tap on the arrow icon to refresh the appraisal price.
Custom Fields Section
The Custom Fields section displays customizable data fields you set up. These custom fields are per part type.
Quantity Section
The Quantity section shows information regarding the current quantity, along with the minimum and maximum quantity settings.
If your current quantity is either below the Minimum Quantity or above the Maximum Quantity, then the text fields will be outlined in red.
Description Section
The Description section is where you can view or add any extra information that was not covered in the above sections. The information in this field is public, and will print out on invoices and display with this part’s Heavytruckparts.net listing.
Internal Notes Section
The Internal Notes section is where you can view or add any notes regarding the part. These notes will not print out on invoices or display on this part’s Heavytruckparts.net listing.
Shipping Section
The Shipping section is where information regarding the parts weight, length, width and height are located.
Attachments Tab
The Attachments tab is where you will go to manage and view any files that have been added to the selected part and the vehicle it’s associated with.
-
Clicking Add Video allows you enter your Youtube account name and search and select from all videos from that account
-
Click the arrow icon next to Add Video to add a YouTube video using a URL
History Tab
The History tab is where you will go to see any Sales, Purchase Orders or Quotes associated with the part.
Instructions
-
Filter history by selecting a Date Range or setting a specific start and end date
Breakdown Tab
The Breakdown tab is where you can break down one part into several parts, like turning a complete engine assembly into multiple engine components.
Related articles
- ITrack Chromium Knowledge Base
- Home Page
- Searching for Customers
- Getting Started
- Customer Page
- Customer Information
- How To: Create a New Customer
- Sales Order Page
- How To: Create a New Sales Order
- Sales Order Document Types
- Dashboard Page
- Dashboard Chart Types
- Dashboard Report Configuration
- Dashboard User Permissions
- How To: Create a Dashboard Report
- Interchange Page
- Part Page
- Searching for Parts
- Part Information
- How To: Create a New Part
- Purchase Order Page
- How To: Create a New Purchase Order
- QuickBooks Online
- How To: Set Up the QuickBooks Online Integration
- Vehicle Page
- Searching for Vehicles
- Vehicle Information
- How To: Create a New Vehicle
- Vendor Page
- Searching for Vendors
- Vendor Information
- How To: Create a New Vendor
- Scanner Page
- Configuration Page
- eBay Template Tags