
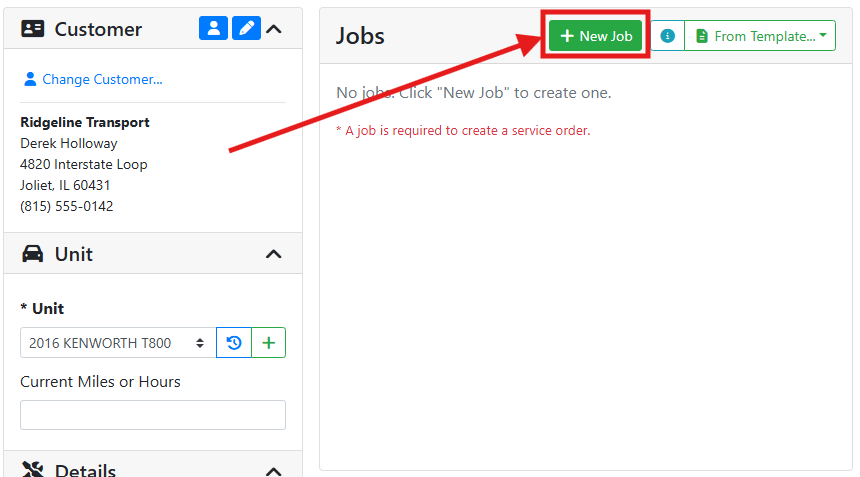
On an open Service Order, click + New Job to add a job to it. Each service order can have as many jobs on it as needed. Use a new job for each new customer complaint or issue that needs to be fixed and diagnosed.
🧰 Getting the Job Ready for a Mechanic
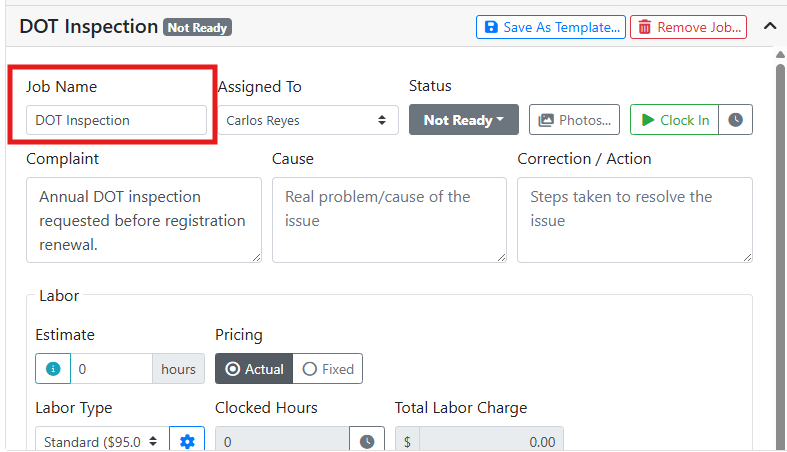
Enter a Job Name that describes the work, so it's easy to tell jobs apart. The job name will appear for the mechanic on their jobs list.
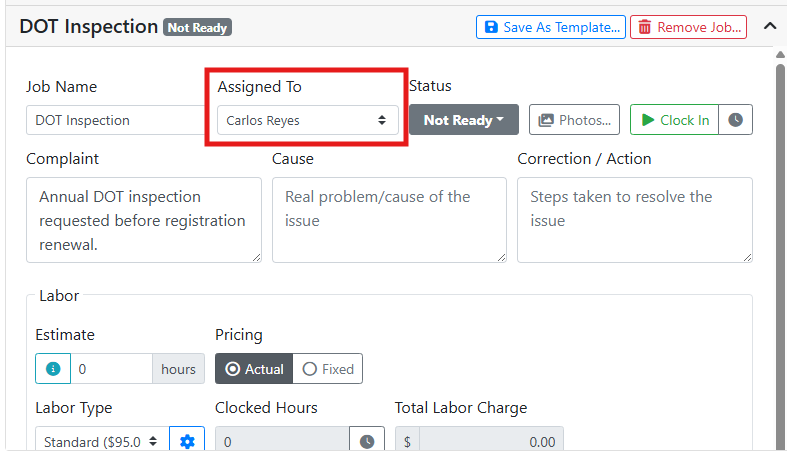
Use the Assigned To dropdown to assign the job to a user. Service order mechanics appear in the list above other users. You can leave a job unassigned until someone is ready to work on it, or you can assign it to a mechanic right away.
Read more about setting up a mechanic.
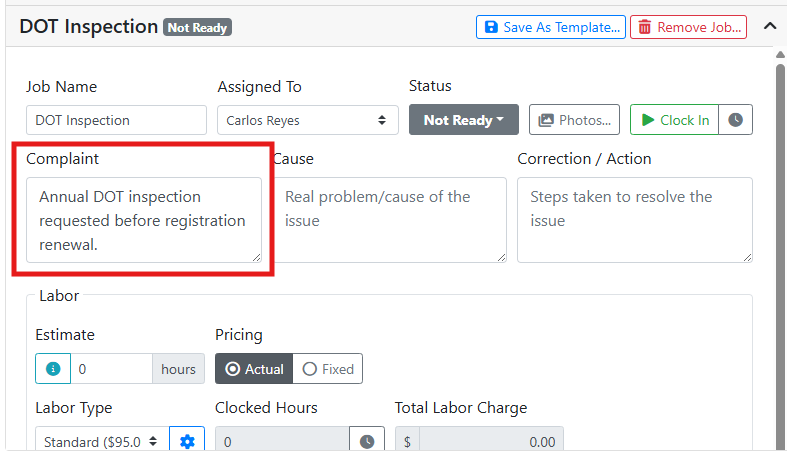
Use the Complaint box to record the customer's initial complaint.
🕑 Setting an Estimate and Labor Type
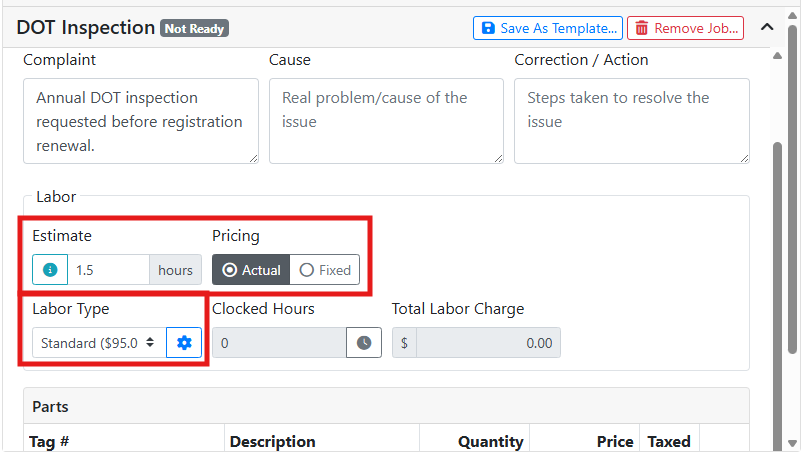
Enter an Estimate to give the customer an idea of how long the job will take before work starts. Choose a Labor Type to set the hourly rate, and toggle Pricing between Actual and Fixed to decide whether the job bills for clocked time or a flat number of hours.
⏱️ Billing by the Hour
With Actual pricing, ITrack bills for however long the job actually takes. When the mechanic clocks in and out of the job, and ITrack tracks the Clocked Hours. The Total Labor Charge is the Labor Type's hourly rate multiplied by those clocked hours.
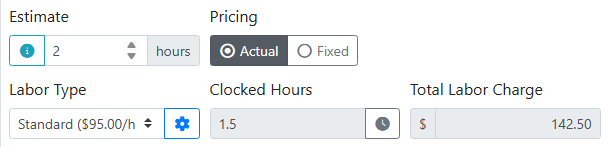
For example, I have a Rear Brake Replacement job for a customer. This is a good fit for Actual pricing.
I pick Standard Repair as the Labor Type. The mechanic will clock in in when he starts, and clock out when he's done. If the job takes 1.5 hours at $95/hr, the customer is billed $142.50, whatever the job actually took.
🕑 Billing a Fixed Rate
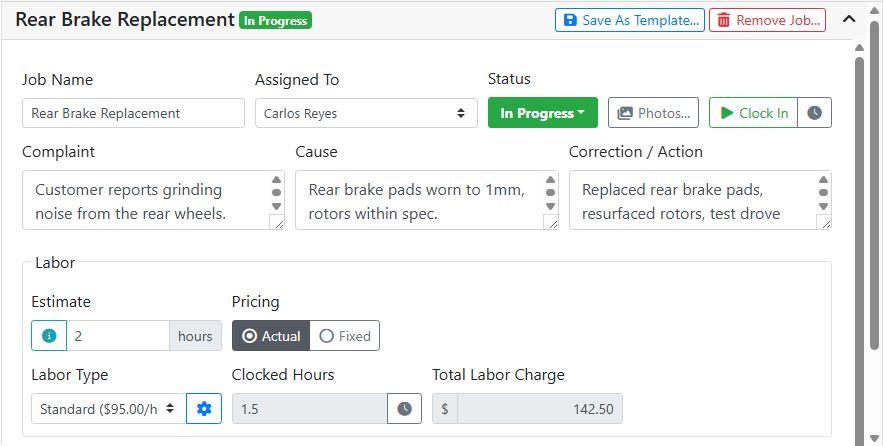
With Fixed pricing, ITrack bills a flat amount regardless of how long the job actually takes. When you select Fixed pricing, you can enter the Billing Hours directly. The Total Labor Charge is the Labor Type's hourly rate multiplied by those billing hours, not by any clocked time.
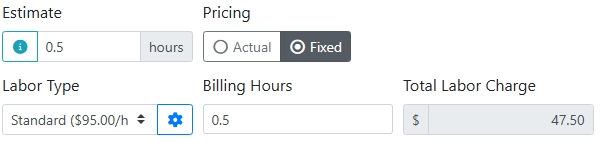
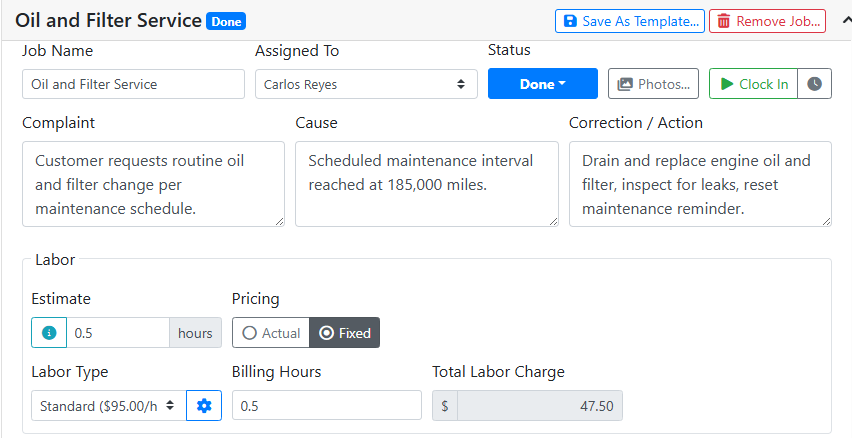
For example, an oil change is a good fit for Fixed pricing since I advertise a set price for this service, regardless of how long it takes my mechanics to work on it.
I pick Standard Repair as the Labor Type and set Billing Hours to 0.5, so the customer is always billed a half hour of labor, $47.50 at $95/hr, whether the mechanic takes 20 minutes or 40 minutes.
❓ Why Should I Use A Different Labor Type?
You may want to bill different services at different rates, such as diagnostic work versus standard work, or you may want to waive labor charges for work such as a warranty repair. That way you can still track your mechanics hours and charge the customer for replacement parts. Setting up different Labor Types allows you to change pricing structure on a job quickly, and even set preconfigured labor rates for different job templates.
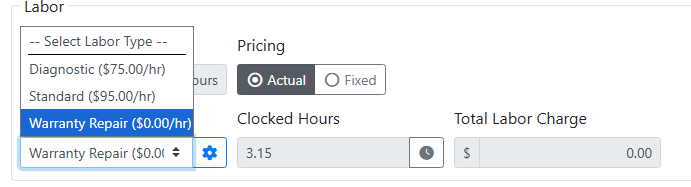
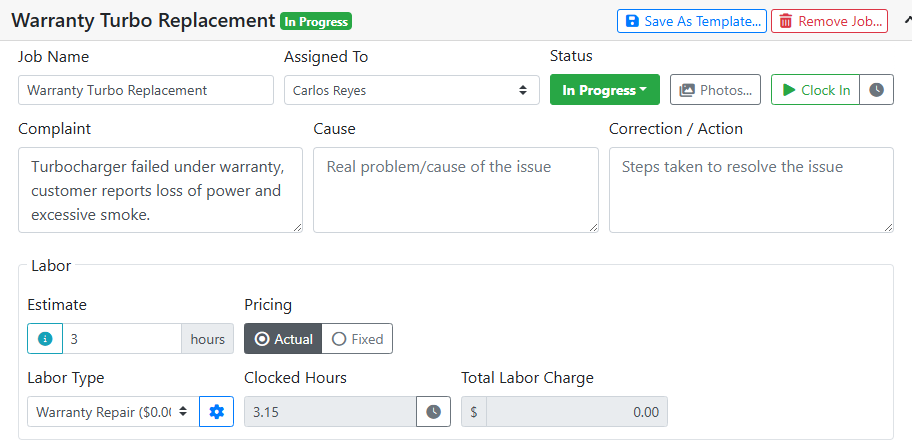
For example, I have a customer that needs a turbo replacement that’s covered under warranty.
I have a Labor Type called Warranty that uses a rate of $0/hr. My mechanics can still clock in, but the labor charge will be $0.
Read more about how managing Labor Types.
✔️ Change the Job to Ready
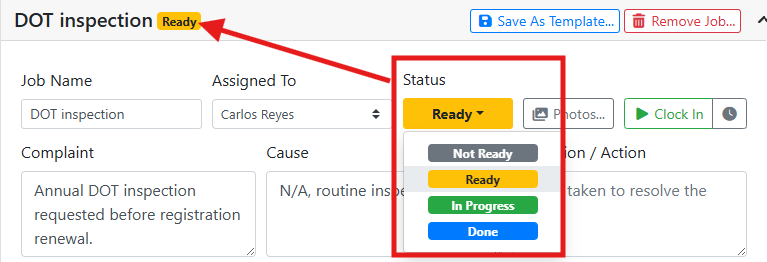
A new job starts out with the Not Ready status. You can leave the status as Not Ready while you fill out the job details.
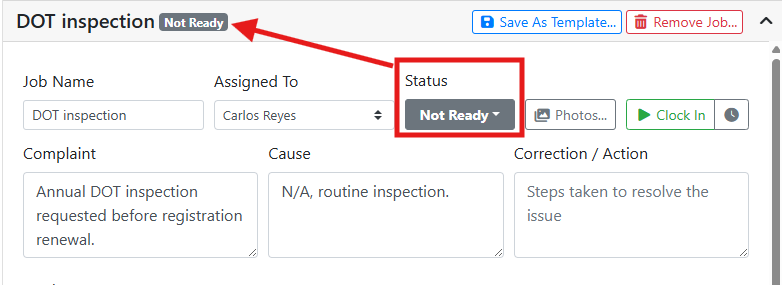
When you have everything complete and the job is approved by the customer, change the status to Ready so your mechanics know the job is ready to be worked on.
Your mechanics will see open jobs on their My Jobs tab, and can pick up jobs marked Ready.
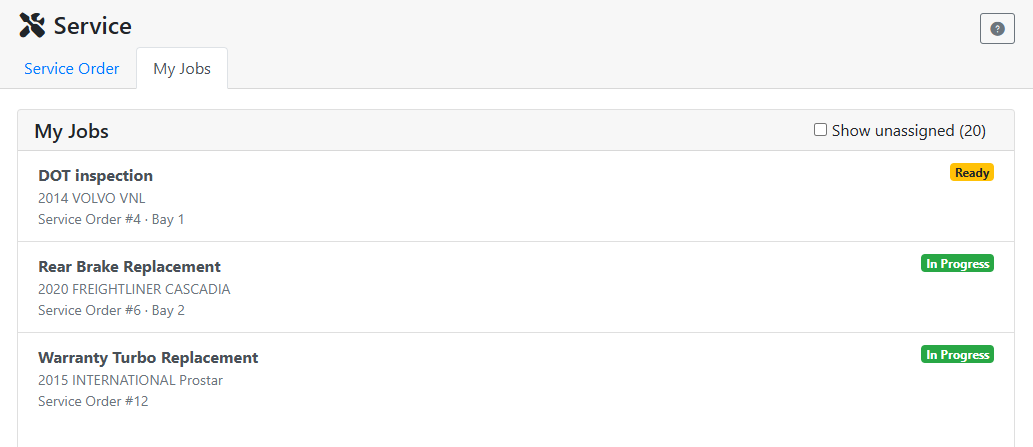
Read more about the My Jobs tab.