
When you’re ready to start working on a service order, you can use the My Jobs tab to find jobs by status that are assigned to you or unassigned.
Read more about creating a job and using the My Jobs tab.
⏱️ Starting the Job
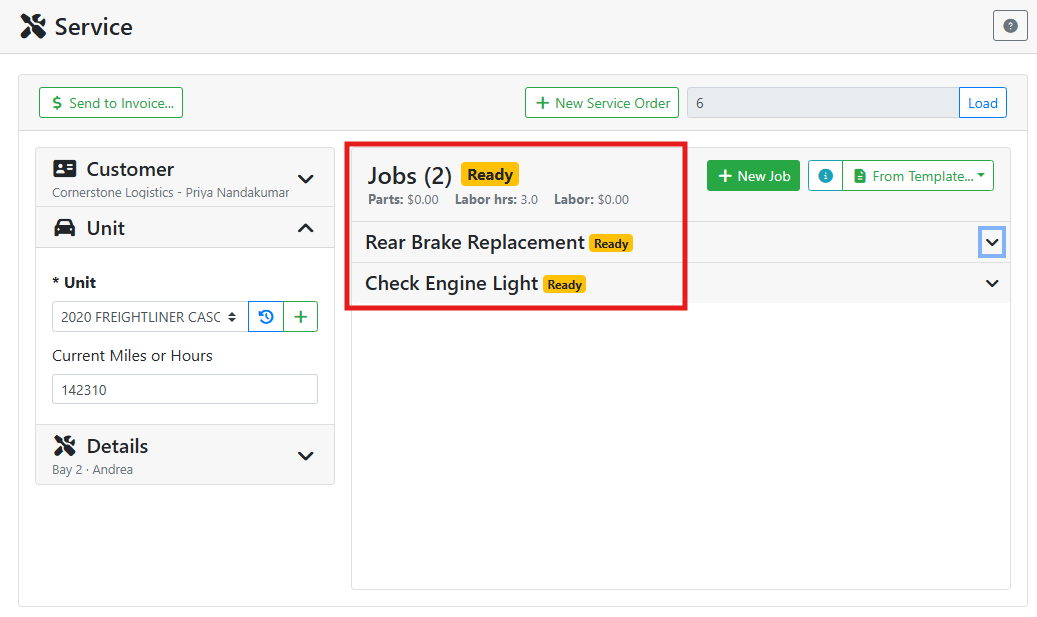
Once you open a service order, you will see a list of the jobs and their statuses. The number in parentheses in the job header indicates how many jobs are on the order. The first job will automatically open.
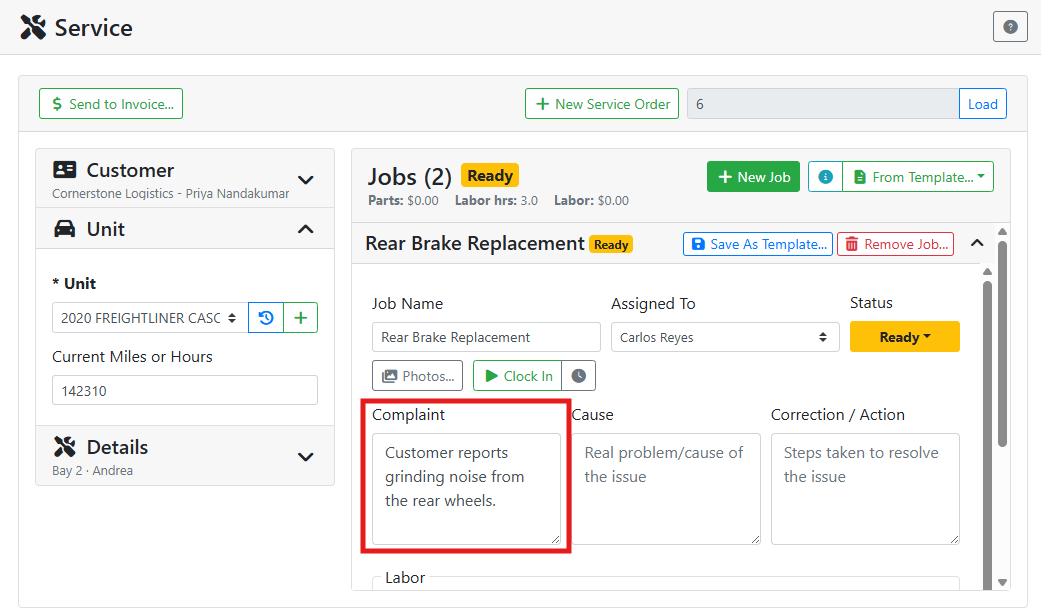
Open a job to see the Customer Complaint and any photos or other details entered by the person who created the job.
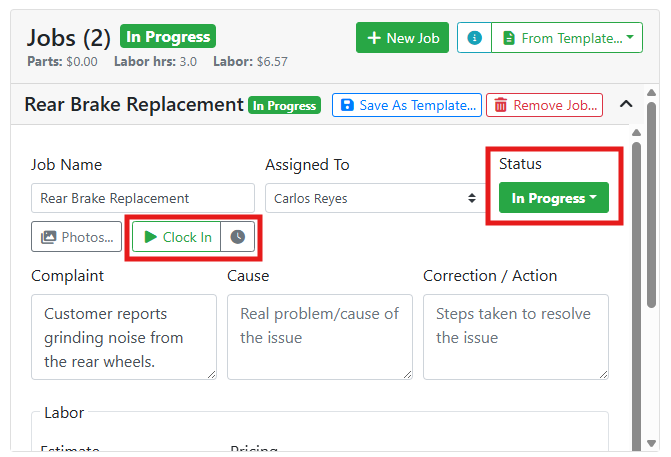
Set the Status to In Progress and clock in when you start working the job. Clocking in will also set the status to In Progress in case you forget.
🧰 Working on a Job
Once you've had a chance to look at the unit, enter what's actually wrong with it in the Cause field and the correction in the Correction/Action field.
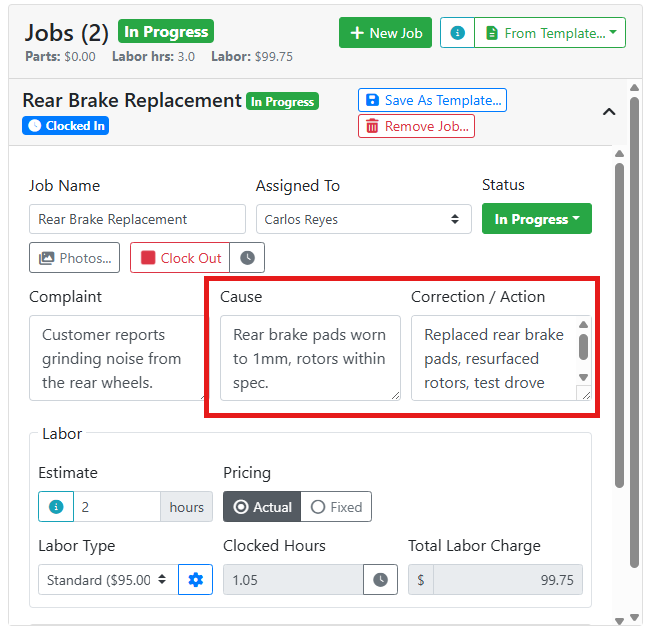
You can clock in and out as many times as needed on a job, and the hours will be reflected in the Clocked Hours field.
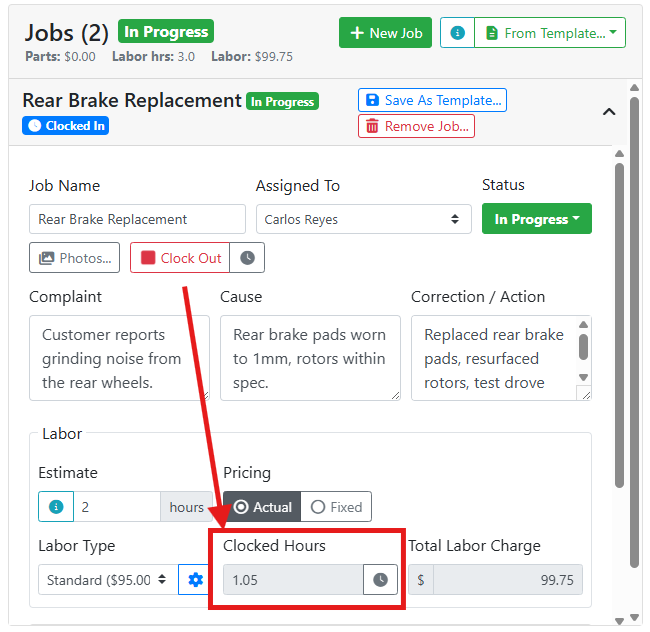
Click the clock 
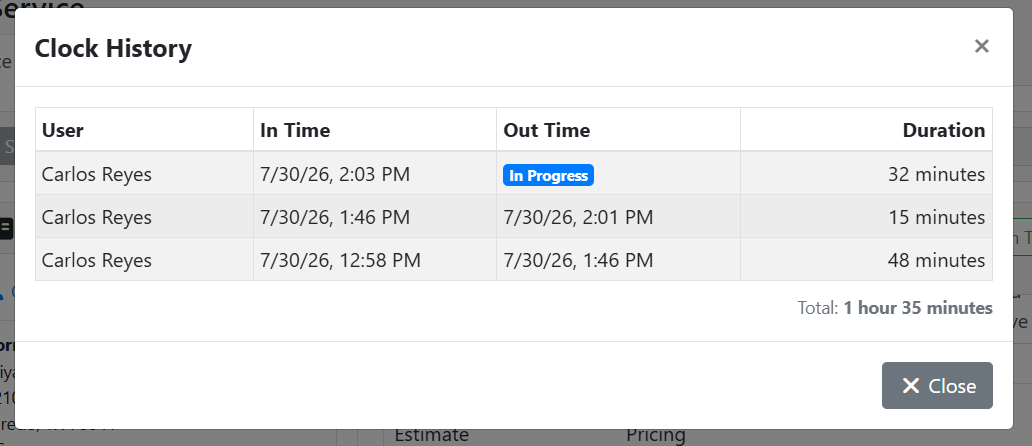
Read more about editing time clock entries.
📷 Attaching Photos
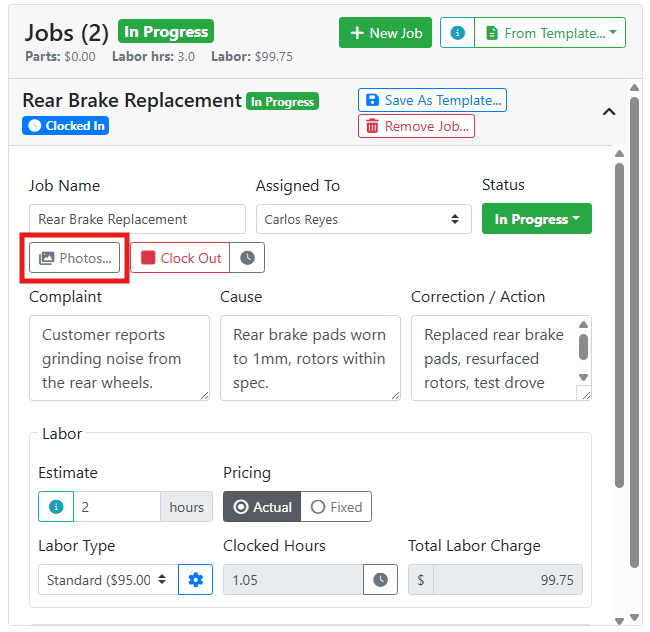
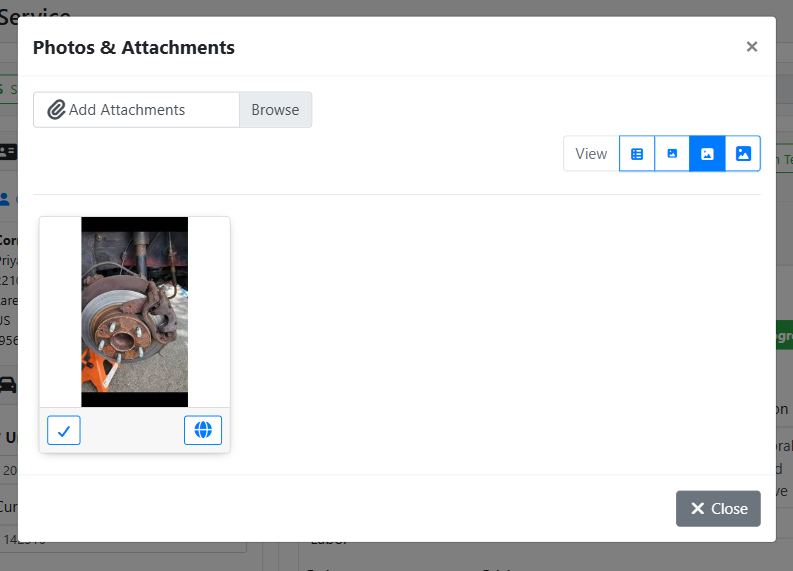
You can add before and after photos of the repair to the job. Click the Photos button on the job to open the attachment window.
In the attachments window, you can click the browse button or attachments dialog to search for an image.
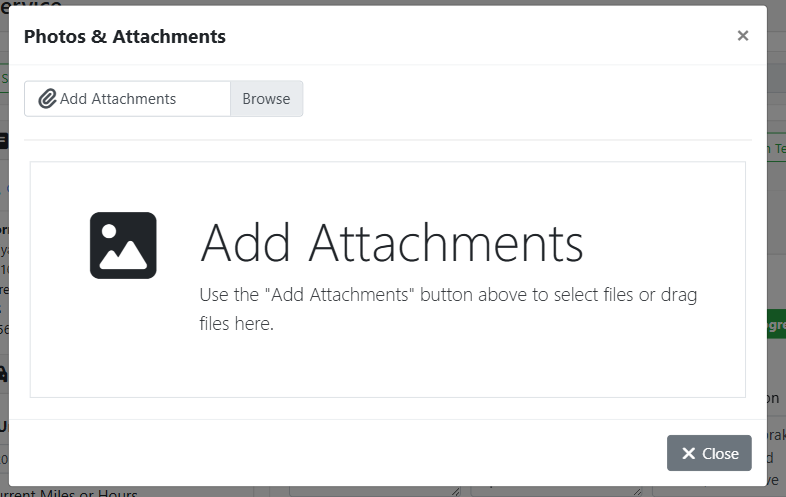
If you are working on a desktop or laptop computer, you’ll be prompted to find an existing image on your computer. If you are working on a phone or tablet, you will have the option to use your device camera to take photos. You can attach as many photos as you need. Click the X Close button when finished.
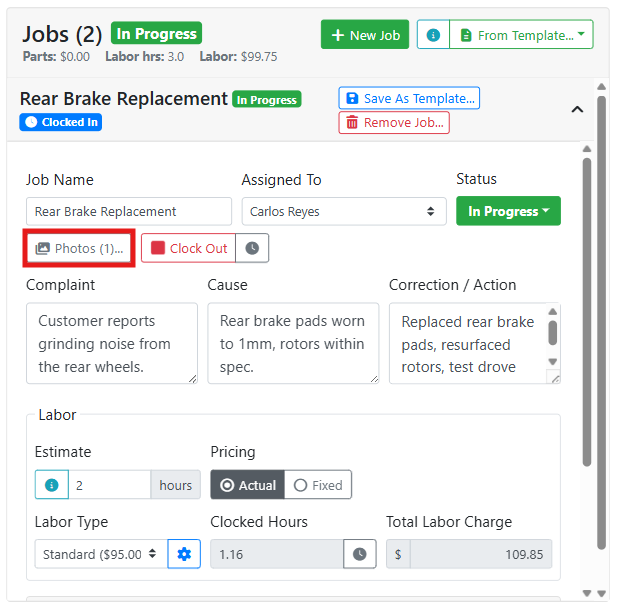
The Photos… button adds a number in parentheses to indicate how many photos are attached to this job. Click the button again at any time to view the photos or add more.
🔧 Adding Parts
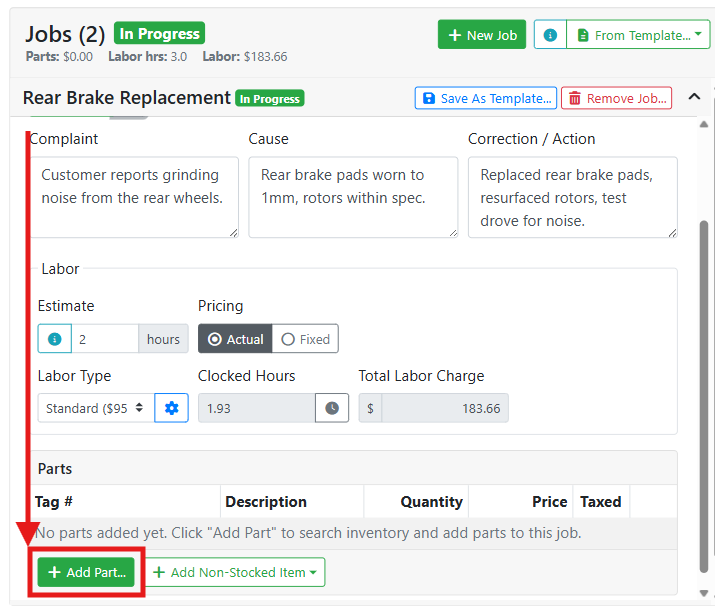
If your repair includes replacement parts, you can add parts near the bottom of the job. Click + Add Part... to search your inventory for a part.
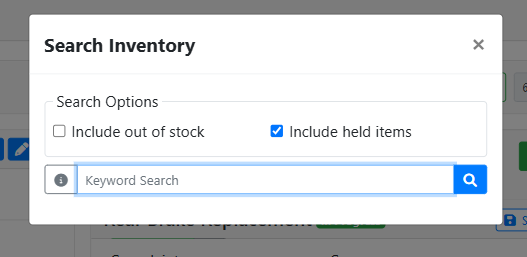
A search window will open where you can type a keyword or tag number find a part.
If there is more than one match, you’ll see a list of matching parts to choose from.
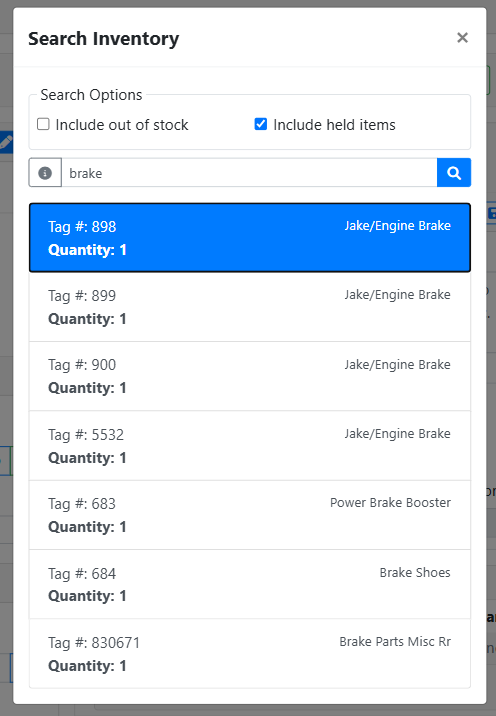
If there is an exact match to your search, it will be added and the search window will close automatically.
Adding an item by its tag number is the fastest way to enter a part.
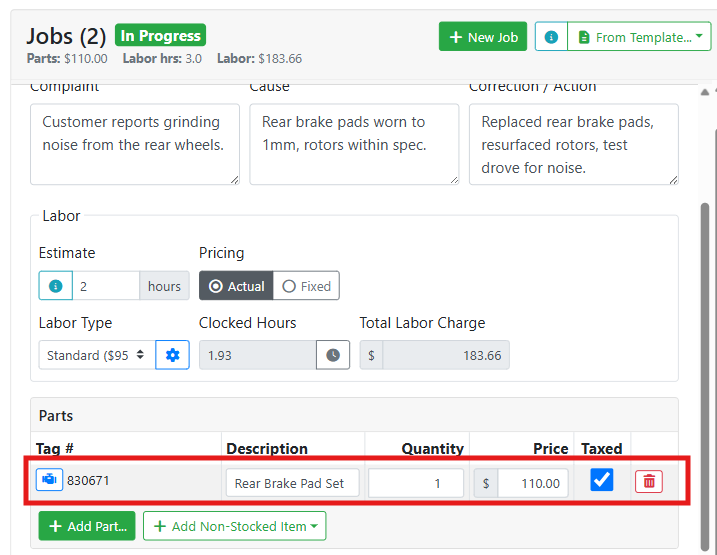
Add as many parts to the job as you need. Click the part 

🔧 Adding a Non-Stocked Part
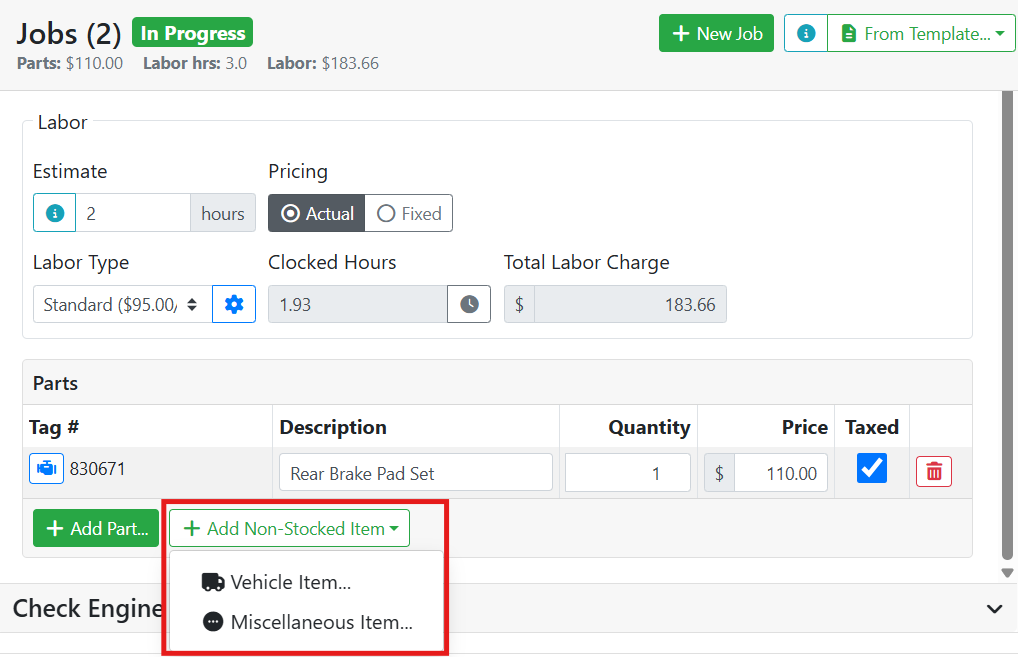
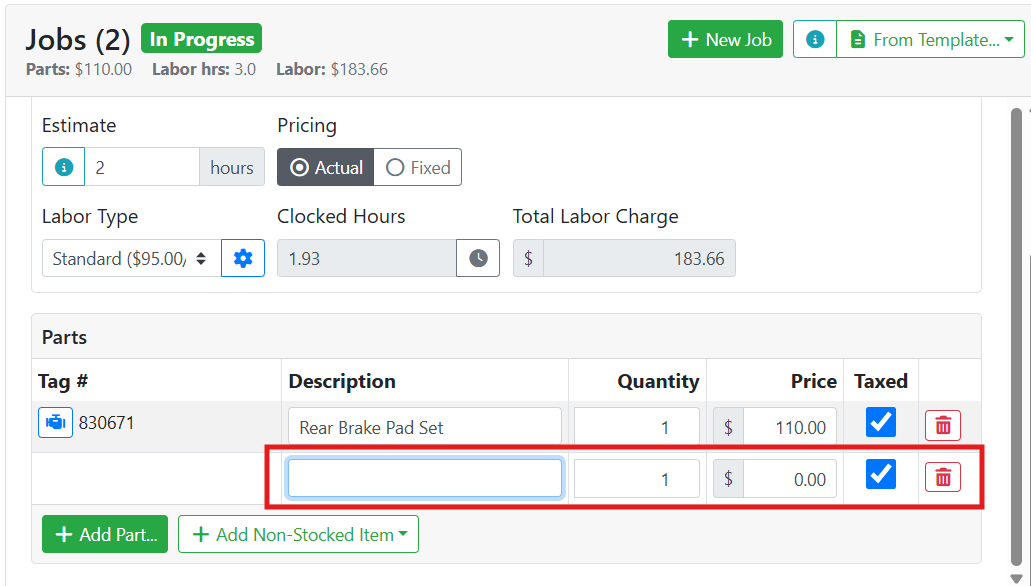
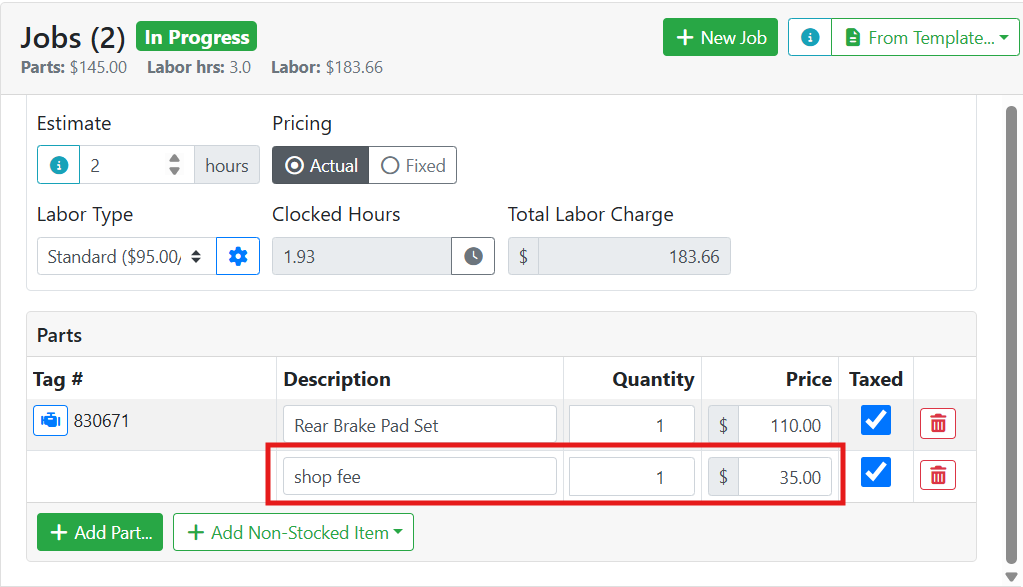
If you need to add a one-off item that isn’t inventoried, such as a shop supply fee, you can add a non-stocked item to the job. Click + Add Non-Stocked Item and choose Miscellaneous Item... to add a blank item.
When adding a non-stocked item, you will need to provide a description and a price.
☑️ Finishing the Job
When you are done working on a job, set the Status to Done. Jobs marked as Done won’t appear in your My Jobs list any more.
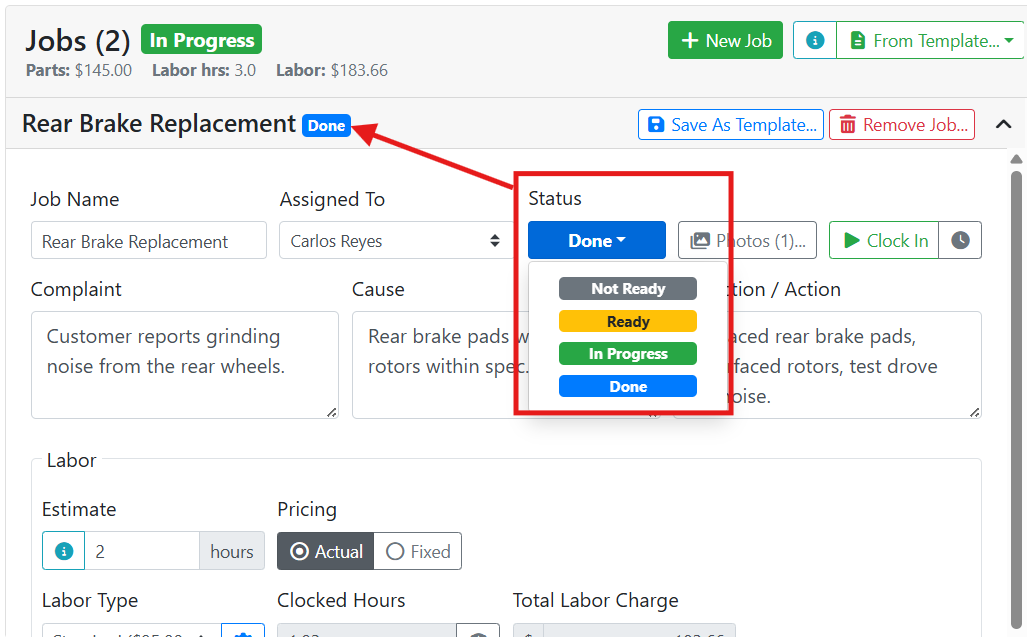
The service order won’t be marked Done until all jobs on the service order are done.
Read more about how job and service order statuses work together.