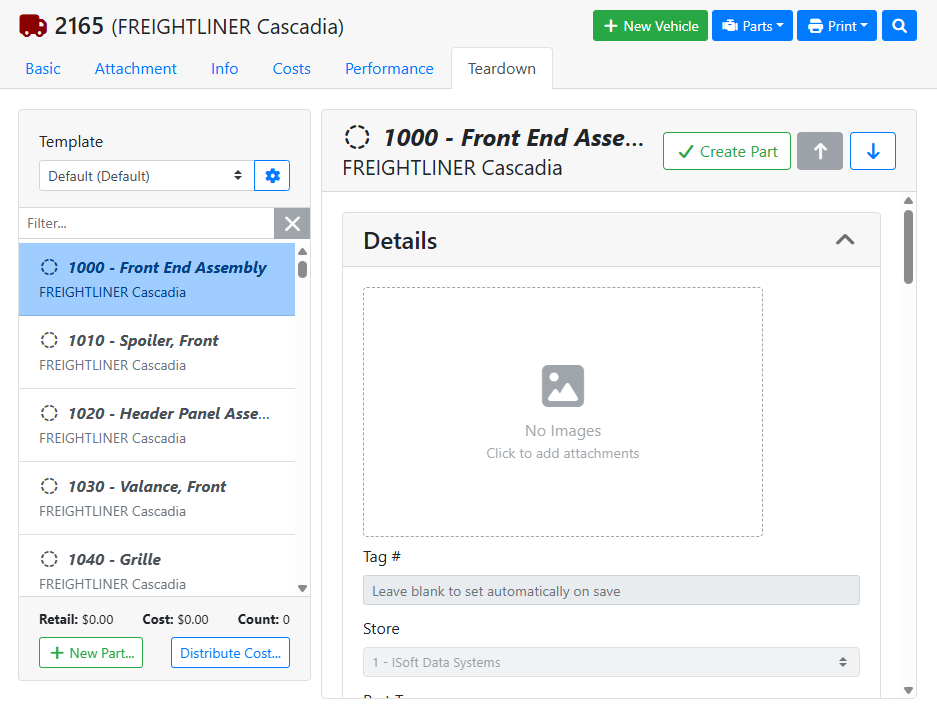
The Teardown tab on a vehicle is where you list the parts you plan to pull off of it. You can build a teardown list whenever it fits your workflow.
For example, you might create a vehicle teardown list during the bidding stage, to help you find your profit margin and an acceptable bid amount based on the parts you expect are salvageable from the vehicle.
You might create a teardown list on a vehicle you just purchased, so that you can create a list of pullable parts for sale.
You might create a teardown list during the dismantling process, as a convenient way to inventory parts as you pull them.
🔧 Parts List
The teardown part list shows you all parts that have either been inventoried from a vehicle, or are suggested to be inventoried from a vehicle by a template.
Each part's icon shows its status.
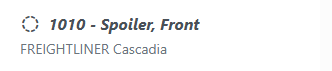
Parts that are suggested by a template but haven’t been inventoried yet will have a dotted line icon, and won’t have a part number.
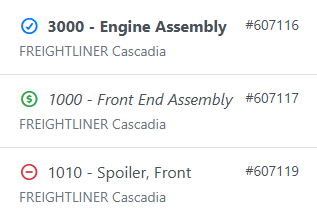
Parts that you have added and inventoried will have a part number, and the icon will indicate the status. A blue checkmark for available parts, a yellow checkmark for parts on hold, a green dollar sign for sold parts and a red minus sign for crushed or deleted parts.
Click any part in the list to see its details on the right. If you are on a smaller screen like a smart phone, the part details will open in a new window.
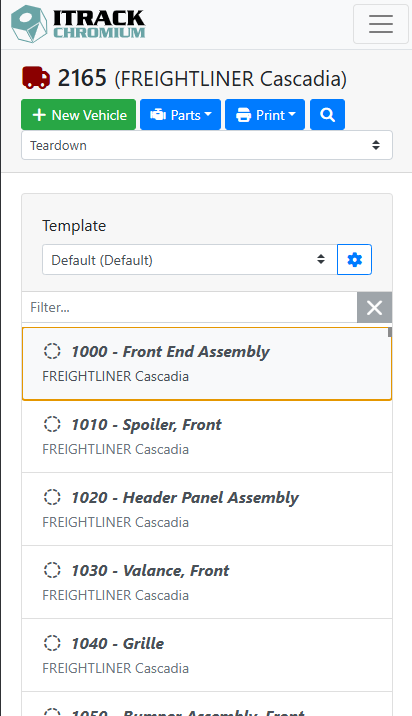
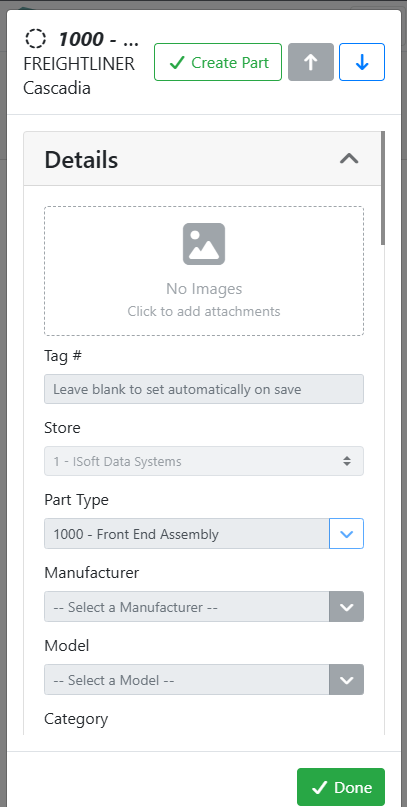
Use the up and down arrows at the top of the details to move from part to part, and type in the Filter box to find a specific part.
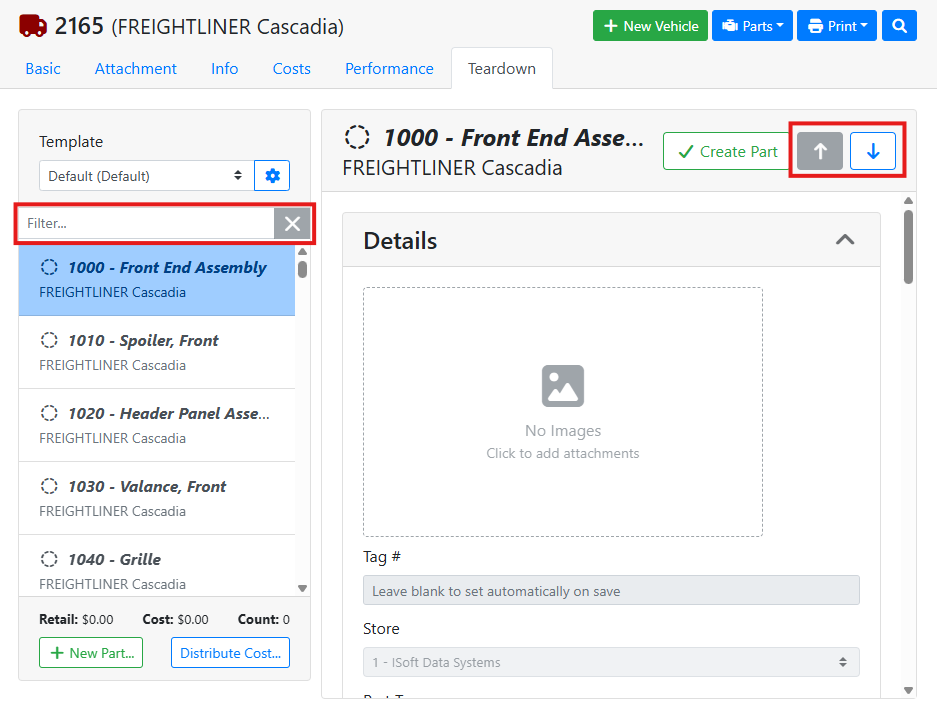
The totals at the bottom of the list show the retail value, cost, and number of parts on the teardown.
To spread the vehicle's cost across its parts all at once, click Distribute Cost....
Read more about vehicle costs.
📋 Starting From a Template
A teardown template lists the part types you usually pull, so you don't have to add each one by hand. Each vehicle make and model can have its own default template, so the right list is usually ready when you open the Teardown tab. To use a different one, choose it from the Template menu.
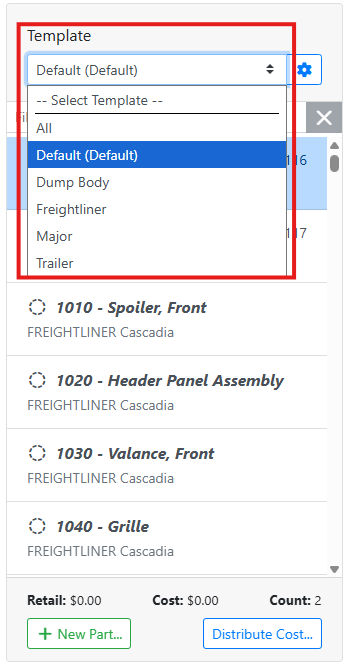
Template parts show up in the parts list in italics, with a dashed circle.
Template parts aren't added to your inventory automatically, since not every part will be salvageable on every vehicle. Click a template part, then click Create Part to add it to your inventory. Once it's created, you can enter its details. Skip any parts this vehicle doesn't have.
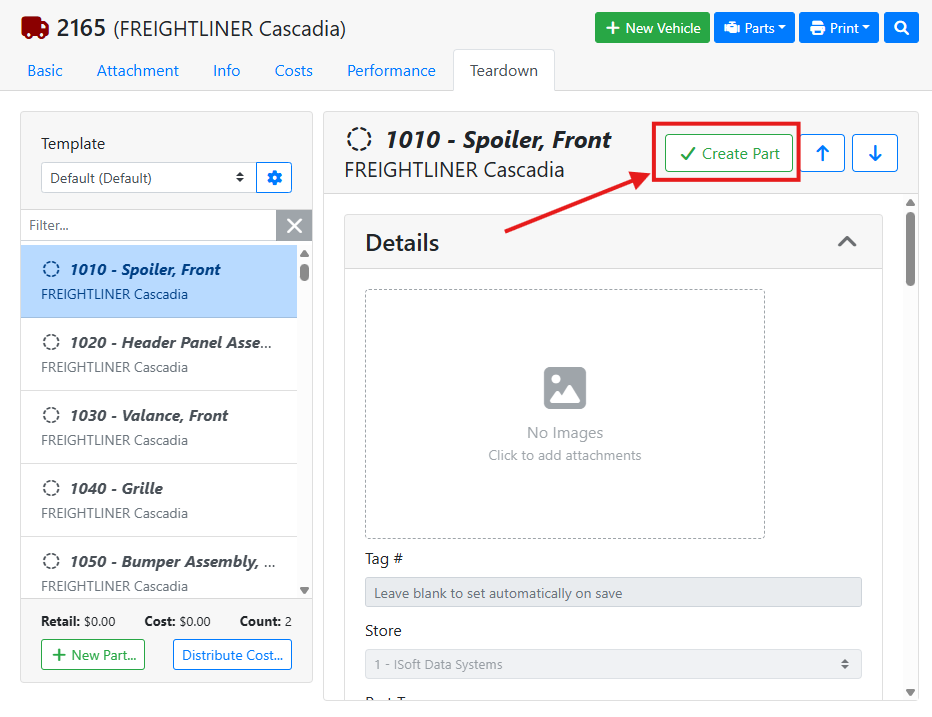
I just bought a Freightliner Columbia, and my Freightliner template is already selected, so I start working down the list. The hood is missing, so I skip it and move on to the cab. By the end, only the parts this truck actually has are in my inventory.
To set up or change your templates, click the gear 
Read more about managing teardown templates.
🔧 Adding Other Parts
If you don't have a template yet, or you need a part that isn't on yours, click the + New Part... button near the bottom of the part list.
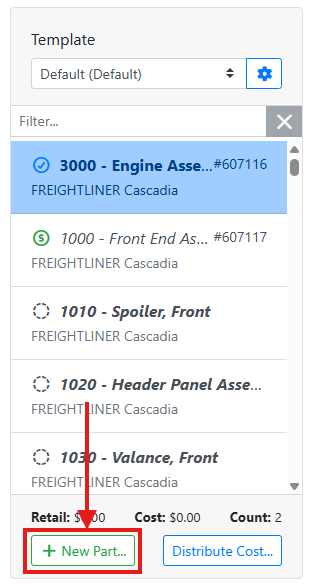
Choose a part type from the Part Type menu and click Create Part, or click one of your Frequently used part types to create it right away.
📝 Adding Part Details
Enter the details that matter for where you are in the teardown. You can always add more on the part record later. Usually the most important details to capture now are the part's Category, Condition, Manufacturer, Model, Side, and photos.
You can set each part's cost now, or come back to it later. Modifying part details on the Teardown tab works the same way as modifying a part on the Part Details screen.
Read more about editing part details.
➖ Removing a Part
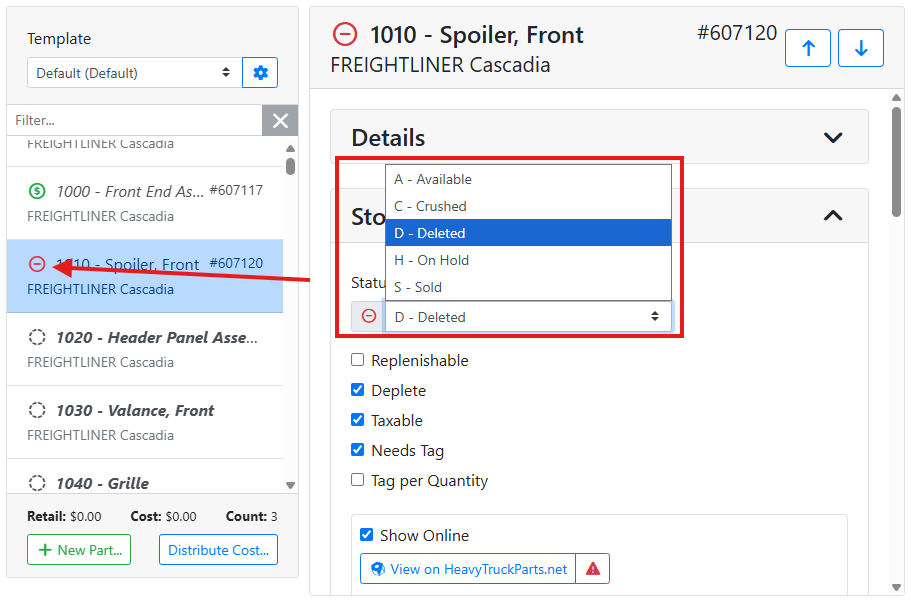
If you created a part by mistake, change its Status to D - Deleted. The part stays in the teardown list with a red icon, so you can still see it, but it's no longer in your available inventory.
📷 Taking Photos During Teardown
The easiest way to add photos during a teardown is to log in to ITrack on your phone. That way you can walk the vehicle, open each part, and add photos as you go. Tap the image box in the part's details to take a photo, or to choose photos you've already taken.
Read more about part attachments.