Configuring a scanner to work with ITrack Chromium lets you scan barcodes for inventory counts in the warehouse as well as inventory moves between locations.
You will need to configure your scanner, and configure Chromium to work with the correct scanner.
⚙️ Configuring the Scanner in Chromium
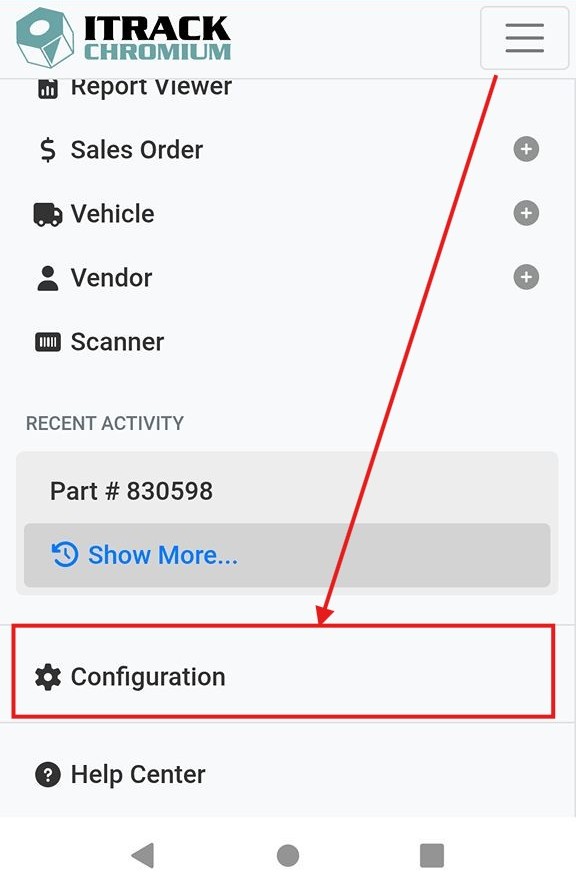
To configure the Chromium on the scanner, open the navigation menu and select Configuration.
On the Configuration page, use the menu and select Scanner.
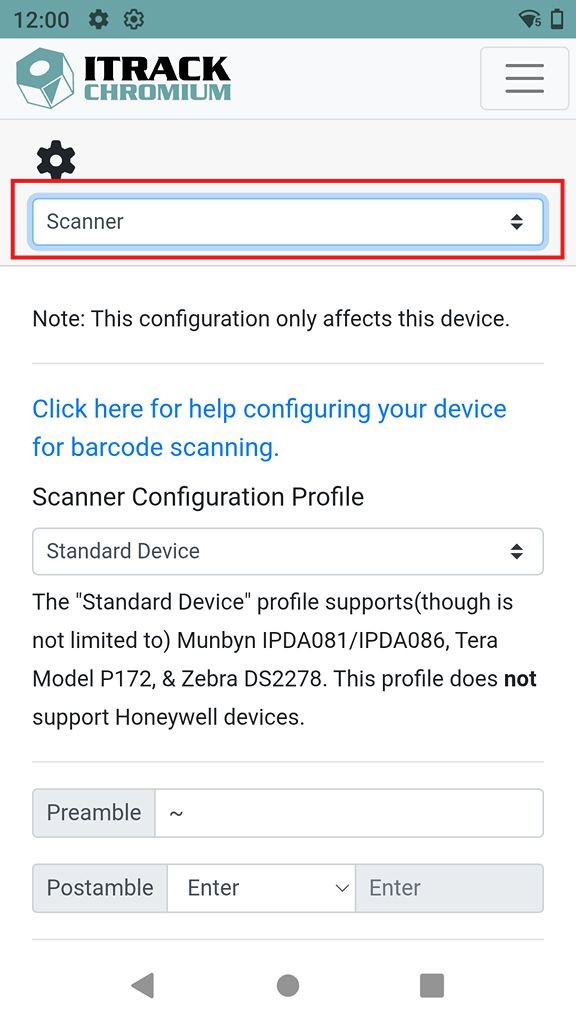
On the Scanner Configuration profile, select the profile for the device you are using. Consult the documentation specific to your scanner.
Read more about configuring a specific scanner.
The Scanner Configuration Page is specific to each device. If you have more than one scanner, you need to visit the Scanner Configuration page and set it up on each device you will use.
☑️ Testing Your Scanner
After configuring the scanner and selecting the correct Scanner Configuration Profile, it’s a good idea to test the scanner to make sure everything looks correct.
Below the Scanner Configuration Profile, tap the Test Scanner button to open the testing page.
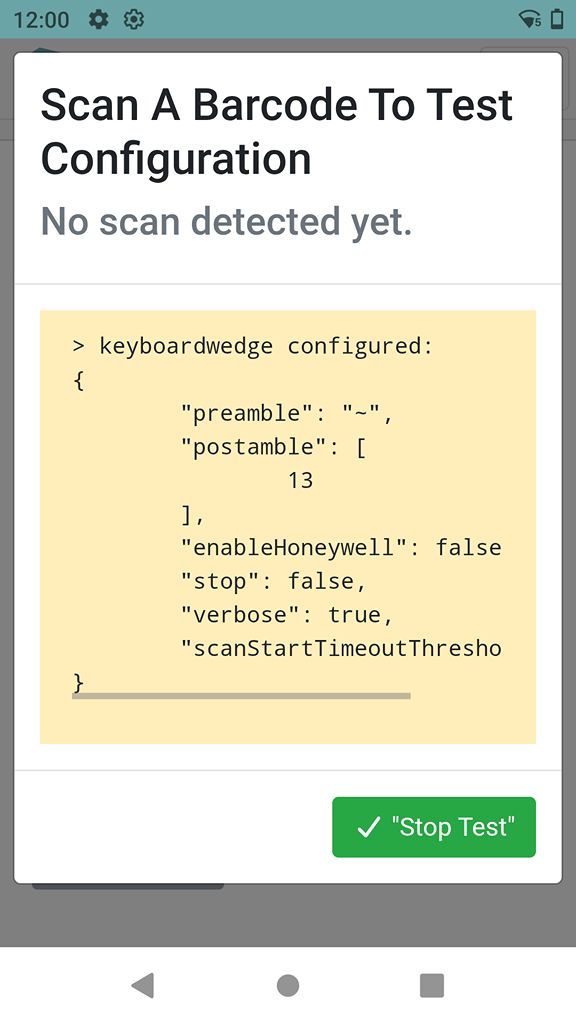
The scanner test page will open.

With this page open, find an item with a bar code and scan it. It doesn’t have to be an inventory item, testing any bar code will work.
After a scan, the testing page will show the values that were scanned. If everything was successful, you should see a Scan Detected message at the top. The log should show a Scanning Ended line.
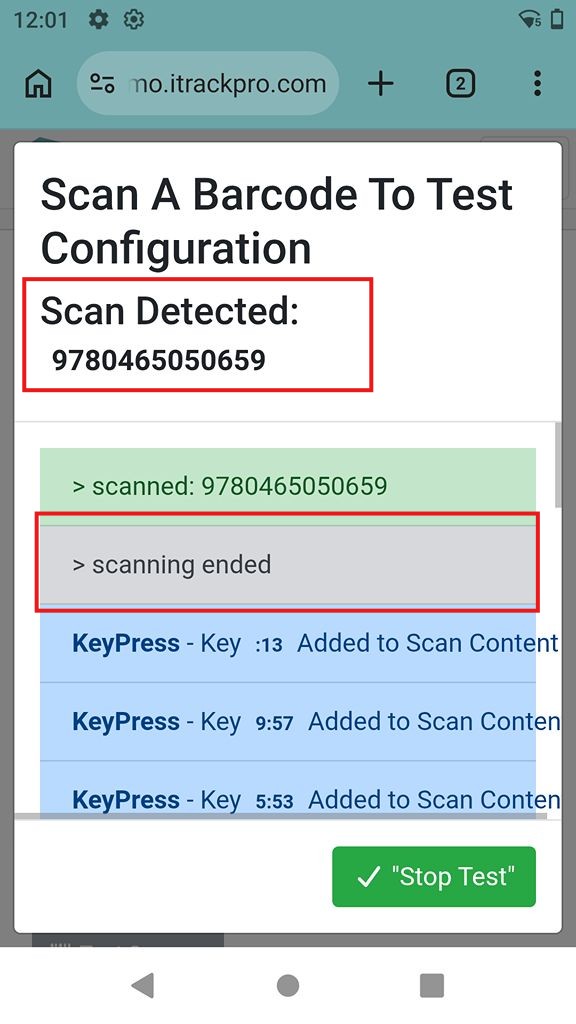
Tap the Stop Test button to close the testing window.